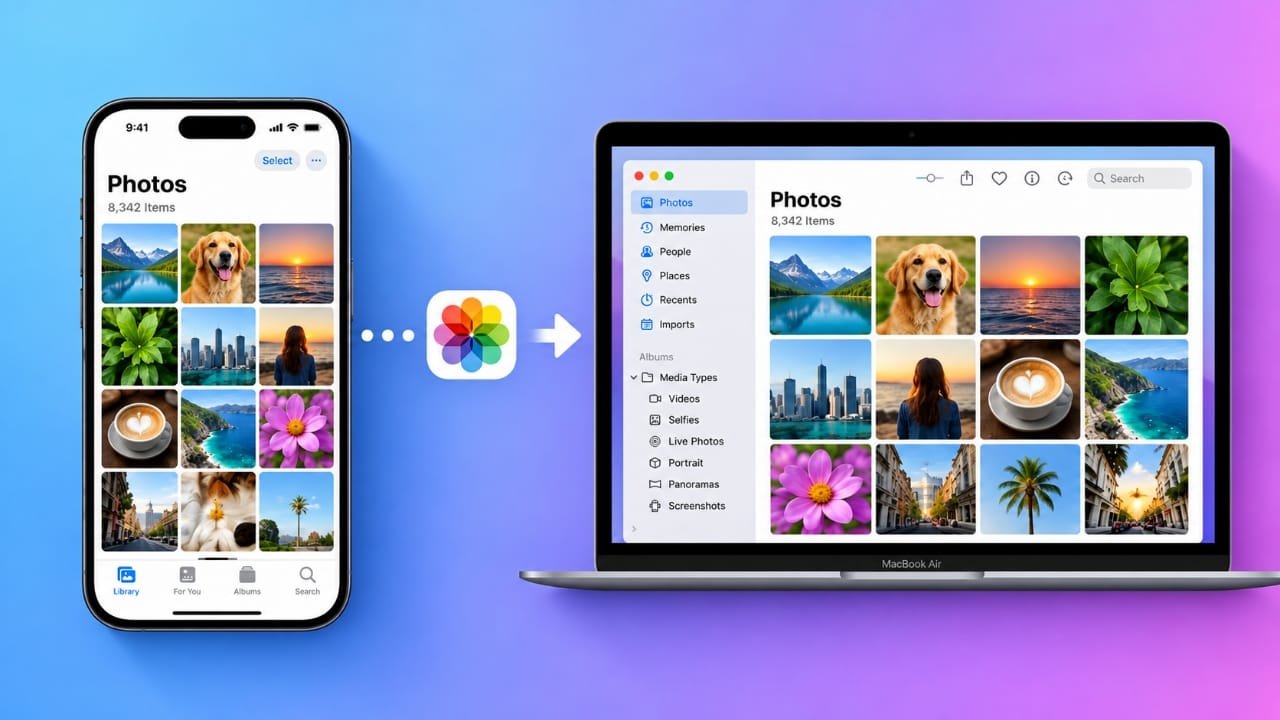
If you want to free up space on your iPhone or keep a backup of your memories, transferring photos to your MacBook Air is a great option. Apple offers several easy ways to do this, whether you prefer a wireless method or a USB cable.
Depending on your needs, you can use iCloud Photos for automatic syncing, AirDrop for quick wireless sharing, or the Photos app with a cable for reliable transfers.
Also read: How to Buy Ringtones on iPhone From the Tone Store
Transfer Photos Wirelessly
Wireless methods are convenient because you don’t need to connect any cables. Apple provides two built-in options that work well for most users.
Sync Photos Automatically with iCloud Photos
If you regularly use both your iPhone and MacBook Air, iCloud Photos is the easiest solution. Once it’s set up, your photos and videos stay updated across your Apple devices automatically.
Keep in mind that Apple includes 5 GB of free iCloud storage. If your photo library is large, you may need to upgrade your storage plan.
Turn on iCloud Photos on iPhone
- Open Settings.
- Tap your Apple ID at the top.
- Select iCloud.
- Tap Photos.
- Turn on Sync this iPhone.
On some iPhone versions, you may also find this option by opening Settings > Apps > Photos and enabling iCloud Photos.
Enable iCloud Photos on MacBook Air
- Open the Photos app.
- If prompted, sign in with the same Apple ID and enable iCloud Photos.
- If you don’t see the prompt, click Photos in the menu bar.
- Select Settings or Preferences.
- Open the iCloud tab.
- Check iCloud Photos.
The first sync may take some time, especially if you have a large photo library. Once finished, new photos will appear automatically whenever your devices are connected to the internet.
Transfer Selected Photos with AirDrop
AirDrop is perfect when you only want to send a few photos or videos instead of syncing your entire library.
Before you begin:
- Turn on Wi-Fi and Bluetooth on both devices.
- Keep your iPhone and MacBook Air close together.
- Make sure AirDrop is enabled on both devices.
Steps to Use AirDrop
- Open the Photos app on your iPhone.
- Select the photo or photos you want to transfer.
- Tap the Share button.
- Choose AirDrop.
- Select your MacBook Air from the list.
- Accept the transfer on your Mac if prompted.
The transferred files are usually saved in the Downloads folder unless you have changed the default location.
If AirDrop Isn’t Working
Try these quick fixes:
- Verify that Wi-Fi and Bluetooth are enabled.
- Change AirDrop visibility from Contacts Only to Everyone if needed.
- Move the devices closer together.
- Restart both devices and try again.
Transfer Photos Using a USB Cable
A wired connection is often the most reliable option, especially for large photo libraries.
You’ll need a compatible charging cable. If your MacBook Air has USB-C ports and your iPhone uses a Lightning cable, you may also need an appropriate adapter.
Import Photos with the Photos App
- Connect your iPhone to your MacBook Air.
- Unlock your iPhone.
- Tap Allow or Trust if a permission message appears.
- Open the Photos app on your Mac.
- Select your iPhone from the Devices section.
- Choose the photos you want to import.
- Click Import Selected.
If you’d like to transfer every new photo at once, choose Import All New Items instead.
Imported images will appear in the Imports section and your main Library. You can also create a new album to keep everything organized.
Why Move Photos to Your MacBook Air?
Photos and videos can quickly fill your iPhone’s storage, especially if you record high-quality videos.
Moving your pictures to your MacBook Air helps you:
- Free up storage on your iPhone.
- Keep a backup of important memories.
- Organize your photo collection more easily.
- Make room for new photos and videos.
Before deleting photos from your iPhone, always confirm that the transferred files open correctly on your Mac.
Do You Need to Import Photos if You Use iCloud?
Not always.
If iCloud Photos is enabled on both devices and syncing is complete, your images should already be available in the Photos app on your MacBook Air. In that case, importing the same files again is unnecessary.
Just remember that free iCloud storage is limited to 5 GB. Larger libraries may require additional storage.
Transfer Photos from iPhone to a Windows PC
If you use a Windows computer instead of a Mac, you can still copy your photos easily with a USB cable.
Steps for Windows
- Install the Apple Devices app from the Microsoft Store.
- Connect your iPhone to your PC using a USB cable.
- Unlock your iPhone and allow the connection if prompted.
- Open the Photos app on Windows.
- Select Import.
- Choose From a USB device.
- Follow the on-screen instructions to import your photos.
You can save the imported pictures in an existing folder or create a new one for better organization.
Note for iCloud Users
If iCloud Photos is enabled, your iPhone may store space-saving versions of your pictures instead of the original files.
Before importing to Windows, make sure the full-resolution originals have been downloaded to your iPhone.
Common Photo Transfer Problems and Solutions
AirDrop Doesn’t Work
Try these steps:
- Turn on Wi-Fi and Bluetooth.
- Check AirDrop visibility settings.
- Switch to Everyone temporarily.
- Keep both devices nearby.
- Restart your iPhone and MacBook Air.
Mac Doesn’t Detect Your iPhone
If your Mac doesn’t recognize your iPhone:
- Disconnect and reconnect the cable.
- Unlock your iPhone.
- Tap Allow or Trust if prompted.
- Try another cable or adapter.
- Restart one or both devices.
iCloud Photos Isn’t Syncing
If your photos aren’t appearing:
- Verify that iCloud Photos is enabled on both devices.
- Confirm you’re signed in with the same Apple ID.
- Check your internet connection.
- Wait for syncing to complete if your library is large.
Also read: How to Remove an Email Account From iPhone: A Complete Guide
Final Thoughts
There isn’t a single best method for everyone. The right choice depends on how you prefer to manage your photos.
- iCloud Photos is ideal for automatic syncing across Apple devices.
- AirDrop is great for quickly sending selected photos without cables.
- USB transfers provide a reliable option for large photo collections or offline use.
- Windows users can import photos easily with a USB connection and the Photos app.
Choose the method that fits your workflow, and regularly back up your photos to keep your memories safe.

Jatin Rajput (Tech Golu) — Tech blogger & YouTuber with 6+ years of experience in WhatsApp, Instagram, Facebook, and mobile guides. Founder of TechGolu.in.