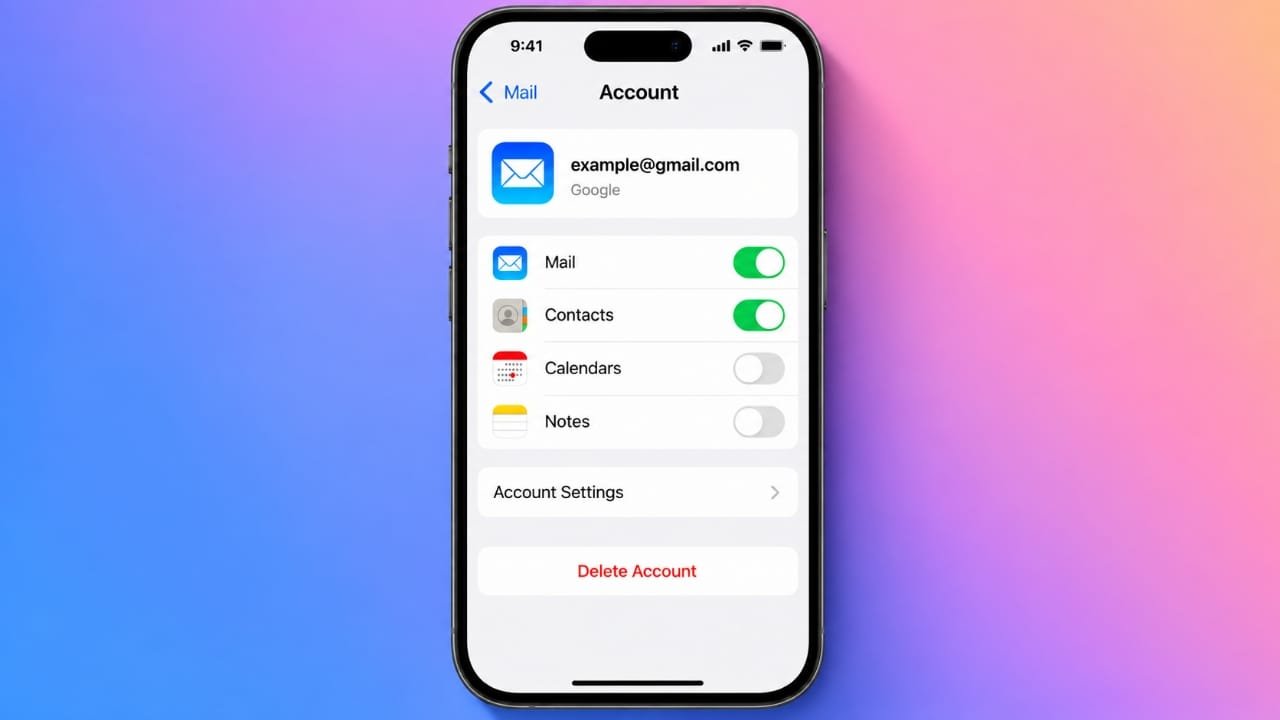
If you no longer want to use an email account on your iPhone, you can remove it in just a few minutes. This only removes the account from your device. Your email address and mailbox remain active, and you can still access them through a web browser or another device.
If you ever need the account again, you can easily add it back later.
Also read: How to Set Up and Use Personal Hotspot on Your iPhone
How to Remove an Email Account on iPhone
Email accounts are managed through the Settings app, not directly from the Mail app. Follow these steps:
- Open the Settings app.
- Scroll down and tap Apps.
- Select Mail.
- Tap Mail Accounts.
- Choose the email account you want to remove.
- Tap Delete Account.
- Confirm by tapping Delete Account again.
On some iPhone models or iOS versions, you may see Delete From My iPhone instead. Tap it to complete the process.
Once finished, the account and its emails will no longer appear in the Mail app. However, the account itself is not deleted from the email provider.
What Happens When You Remove an Email Account?
Removing an email account only disconnects it from your iPhone. It does not permanently delete the account.
You can still:
- Sign in through the provider’s website.
- Access your emails on other phones, tablets, or computers.
- Add the account back to your iPhone whenever you want.
For example, Gmail, Outlook, Yahoo Mail, and other services continue working normally after the account is removed from your device.
Things to Check Before Removing an Account
Some email accounts also sync other types of data. Removing the account may also remove this information from your iPhone:
- Emails
- Contacts
- Calendars
- Notes
- Reminders or tasks
If any of this information is important, make sure it is backed up or available elsewhere before removing the account.
Are Your Emails Deleted?
In most cases, no.
If your account uses IMAP or Exchange, your emails stay safely stored on the provider’s servers. You can access them again by signing in through the web or another device.
If you use a POP account, some emails may exist only on your iPhone, depending on your settings. It’s a good idea to back up important messages before removing the account.
Don’t Want to Delete the Account? Try These Alternatives
Sometimes you don’t need to remove the account completely. iPhone offers several ways to reduce email interruptions while keeping your account connected.
Turn Off Email Sync
If you want a break from email but plan to use the account later:
- Open Settings.
- Go to Apps > Mail > Mail Accounts.
- Select the account.
Then:
- Turn off Mail for IMAP or Exchange accounts.
- Turn off Account for POP accounts.
- Turn off Use On This iPhone for iCloud Mail.
Your account stays connected, and you can enable it again anytime.
Stop Automatic Email Fetching
If you prefer checking emails manually:
- Open Settings.
- Go to Apps > Mail > Mail Accounts.
- Tap Fetch New Data.
- Select your account.
- Choose Manual.
You can also select a longer fetch interval if you still want automatic updates while reducing battery usage.
Turn Off Email Notifications
If constant alerts are the problem, you can disable notifications without removing the account.
- Open Settings.
- Tap Notifications.
- Select Mail.
- Choose the email account.
- Turn off Allow Notifications.
You can also disable:
- Lock Screen notifications
- Notification Center alerts
- Badge App Icon
Your emails will continue arriving, but your iPhone won’t notify you every time.
Use Focus Mode
Focus Mode is useful if you only want to silence certain email accounts during specific times.
For example, you can mute work emails during evenings, weekends, or vacations while continuing to receive personal emails.
This lets you stay organized without disconnecting important accounts.
Hide an Inbox Without Removing the Account
If your Mail app feels cluttered, you can simply hide an inbox.
- Open the Mail app.
- Go to Mailboxes.
- Tap Edit.
- Remove the checkmark next to the inbox you want to hide.
- Tap Done.
The account remains connected, but the selected inbox is hidden from view.
Check VIP and Thread Notifications
Even if an account is muted, special notifications may still appear.
VIP contacts and email threads have their own notification settings. If you continue receiving alerts, review those options separately under Mail notification settings.
Helpful Mail Tips
The Mail app includes several useful actions for managing individual emails without changing your account settings.
Swipe left on an email and tap More to access options such as:
- Reply
- Reply All
- Forward
- Mark as Read
- Archive
- Flag
- Mute
These tools help you organize messages without removing your email account.
How to Delete Multiple Emails
The iPhone Mail app does not include a single Select All button for every mailbox.
To delete several emails:
- Open your mailbox.
- Select the messages you want to remove.
- Tap Trash.
This is the quickest way to clear unwanted emails.
Fix an Email Account That Shows Offline
If your account suddenly appears offline, check your connection settings.
Go to:
Settings > Cellular > Cellular Data
Make sure Mail is allowed to use cellular data.
Also verify that Airplane Mode is turned off, as it prevents your iPhone from connecting to email servers.
Add the Email Account Again
If you removed an account by mistake or want to use it again:
- Open Settings.
- Go to Apps > Mail > Mail Accounts.
- Tap Add Account.
- Select your email provider.
- Enter your login details and follow the setup instructions.
You can add multiple email accounts and choose which one to use whenever you send a new message.
Also read: Claude Code Can Now Work in the Background on Mac Without Interrupting Your Tasks
Final Thoughts
Removing an email account from your iPhone is quick and completely reversible. It simply disconnects the account from your device while leaving your emails and account active with the email provider.
Before removing an account, check whether it syncs contacts, calendars, notes, or other important data. If you only want fewer interruptions, consider turning off notifications or disabling email sync instead. These options let you stay organized without permanently removing the account.

Jatin Rajput (Tech Golu) — Tech blogger & YouTuber with 6+ years of experience in WhatsApp, Instagram, Facebook, and mobile guides. Founder of TechGolu.in.