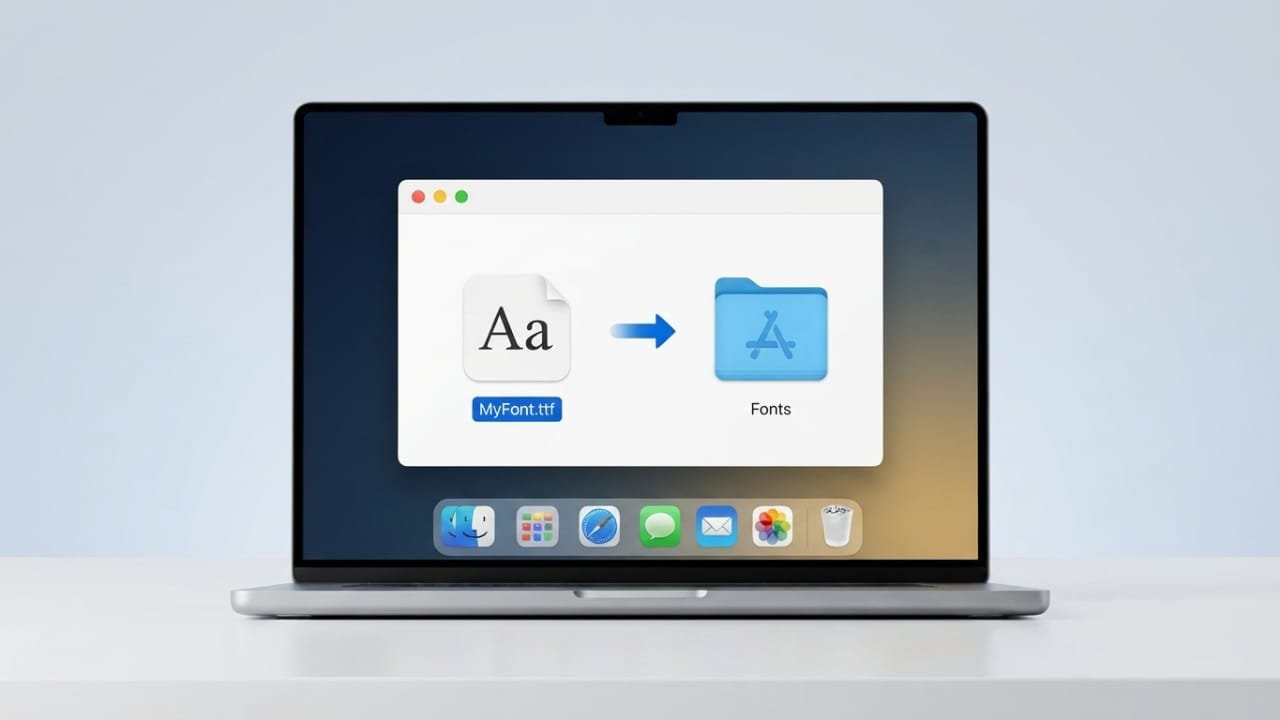
macOS already comes with a large collection of fonts, but sometimes the built-in options may not be enough. If you work on documents, presentations, graphics, websites, or other creative projects, adding a few custom fonts can give your work a different look.
The good news is that installing fonts on a Mac is quite simple. Apple includes an app called Font Book, which lets you install, organize, disable, and remove fonts from your Mac.
In this guide, you’ll learn where to get fonts, how to install them, how to use them in apps, and what to do if a newly installed font doesn’t appear.
Also read: How to Connect Your Echo and Alexa to Wi-Fi: A Simple Step-by-Step Guide
Where Can You Download Fonts for Mac?
You can find additional fonts through Apple’s Font Book as well as various third-party websites. Many websites offer free fonts, although some may have separate licensing terms for personal and commercial use.
Some commonly used font websites include:
- DaFont
- Google Fonts
- FontSpace
- UrbanFonts
Before downloading a font, it’s a good idea to check its license, especially if you’re planning to use it for business, advertising, or other commercial work.
Which Font Formats Does macOS Support?
Mac computers can work with several common font formats, including:
- TrueType (.ttf)
- Variable TrueType (.ttf)
- TrueType Collection (.ttc)
- OpenType (.otf)
- OpenType-SVG (.otf)
- OpenType Collection (.ttc)
Older font formats may have limited support, so using a modern and commonly supported format is generally the better option.
How to Install Fonts Using Font Book
Font Book is Apple’s built-in font management tool, and it’s usually the simplest option for installing fonts.
Here’s what to do:
- Open Font Book on your Mac. You can find it through Spotlight or the Applications folder.
- Browse the available fonts or use the search field to find a particular font.
- If you’re viewing fonts that are available for download, select the font you want.
- Click the Download button to add the font to your Mac.
- Once the installation is complete, the font will appear in Font Book and can be used by compatible applications.
This method is useful when you want to use fonts provided through Apple’s font collection without downloading files from another website.
How to Install a Downloaded Font on Mac
If you download a font from a website, the file may arrive as a ZIP archive. You’ll need to extract it before installing the actual font file.
Follow these steps:
- Download the font from a trusted source.
- Open Finder and go to your Downloads folder.
- Locate the downloaded ZIP file.
- Double-click the ZIP file to extract its contents.
- Open the extracted folder and look for the font file, usually ending in .TTF or .OTF.
- Double-click the font file.
- A preview window will appear in Font Book.
- Click Install Font.
Font Book will then add the font to your Mac.
Another Way to Add a Font
You don’t always have to open the font file individually. You can also:
- Drag the font file from Finder directly into Font Book.
- Open Font Book, choose File > Add Fonts to Current User, and select the font file from your Mac.
Both methods allow you to add downloaded fonts without much effort.
How to Use a New Font on Your Mac
After installing a font, you can usually find it in applications that support system fonts.
The exact process depends on the application you’re using. For example, the way you select a font in a word processor may be different from a graphics or design application.
In many apps, you can select some text and then choose the font from the application’s font menu. Some programs may also provide their own font panel or formatting controls.
If the newly installed font isn’t listed immediately, close and reopen the application. Some apps need to restart before they recognize newly added fonts.
How to Disable a Font on Mac
You don’t necessarily have to delete a font just because you don’t currently need it. Font Book allows you to deactivate fonts instead.
To disable a font:
- Open Font Book.
- Find and select the font you want to disable.
- Right-click the font and choose Deactivate.
- Confirm the action if prompted.
The font will remain in Font Book but won’t be active for normal use.
If you need it again later, you can open Font Book, select the font, and choose Activate.
This can be useful if you have a large collection of fonts and want to keep your active font list manageable.
How to Remove a Font From Mac
If you know you won’t need a particular font anymore, you can remove it from Font Book.
Here’s how:
- Open Font Book.
- Select the font you want to remove.
- Use the Delete option.
- Confirm the removal when macOS asks you to do so.
Be careful when removing fonts, especially system fonts. It’s generally better to leave fonts required by macOS alone and only remove fonts you’ve added yourself.
What to Do When a Font Doesn’t Appear
Sometimes a font installs successfully but doesn’t immediately appear in an application. There are several simple things you can try.
Restart the App
First, close the application where you’re trying to use the font and open it again. The program may simply need to refresh its font list.
Restart Your Mac
If restarting the app doesn’t help, restart your Mac. This can resolve temporary font-related issues.
Check the Font File
Make sure the downloaded font is in a format supported by macOS. If the file is damaged or incomplete, try downloading it again from the original source.
Use Font Book to Check the Font
Font Book includes a validation feature that can help identify problems with a font.
Open Font Book, select the font, and look for the option to Validate Selection under the File menu. Font Book will check the font and report any issues it finds.
If the font fails validation, removing it and downloading a fresh copy may solve the problem.
Reinstall the Font
If nothing else works, remove the problematic font and install it again. A corrupted download or damaged font file can sometimes prevent a font from working correctly.
Also read: Erase and Reset iPhone Settings: A Simple Guide to Every Reset Option
Final Thoughts
Adding custom fonts to a Mac is a straightforward process once you know where to look. For fonts available through Apple’s collection, Font Book provides a convenient way to install them. For fonts downloaded elsewhere, you can usually install them by opening the font file or adding it directly through Font Book.
It’s also worth keeping your font library organized. If you don’t use a font regularly, you can deactivate it instead of deleting it. And before using a free font for commercial projects, always check its licensing conditions.
With these simple steps, you can install, manage, and troubleshoot fonts on your Mac without much hassle.

Jatin Rajput (Tech Golu) — Tech blogger & YouTuber with 6+ years of experience in WhatsApp, Instagram, Facebook, and mobile guides. Founder of TechGolu.in.