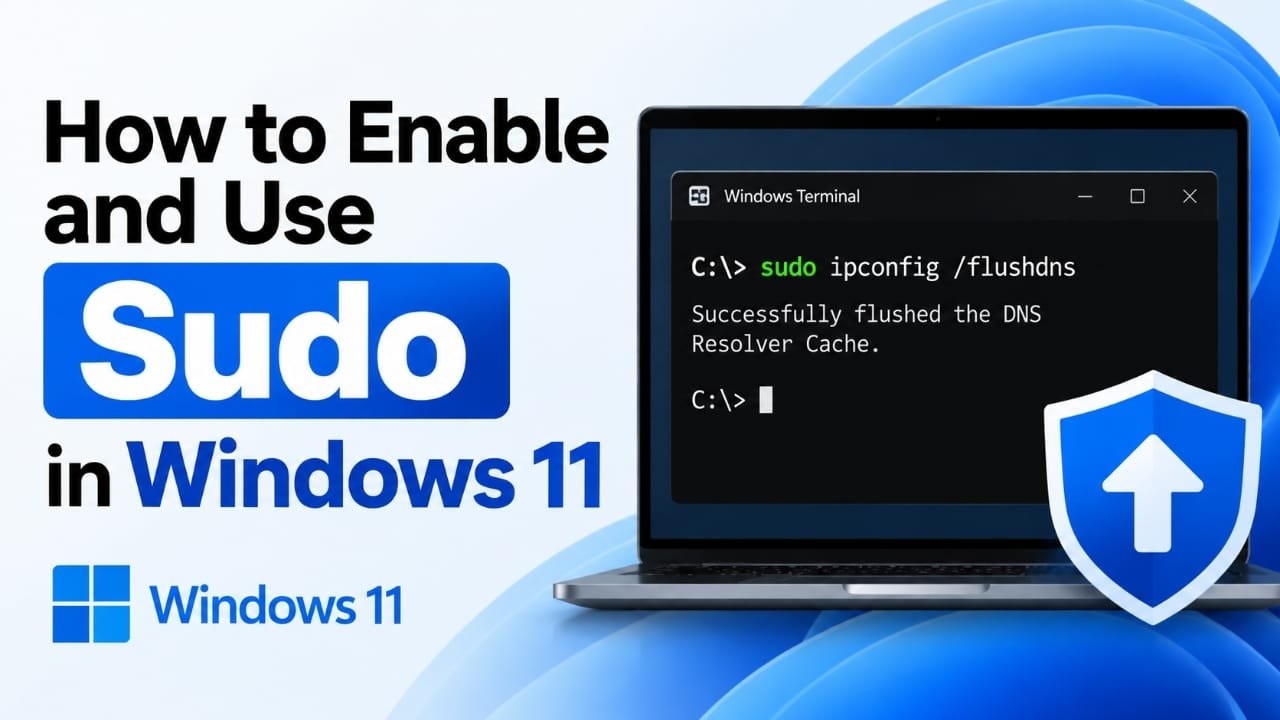
Windows 11 has a built-in sudo command that makes it easier to run a specific command with administrator permissions without opening the entire terminal as an administrator.
The feature is available in Windows 11 version 24H2 and newer releases. Once enabled, you can simply add sudo before a command whenever that particular command needs elevated permissions.
Unlike opening an entire Command Prompt or PowerShell window with administrator rights, sudo elevates only the command you choose to run.
Also read: How to Pin a File to File Explorer Home in Windows 11
Check Your Windows Version First
Before looking for the sudo option, check whether your PC is running a supported version of Windows 11.
- Press Windows + R.
- Type
winver. - Press Enter.
- A window showing your Windows version will appear.
- Check whether your system is running Windows 11 version 24H2 or later.
If your PC has an older version, install the available Windows updates and check again.
Keep in mind that Windows’ built-in sudo is different from the sudo command used inside Windows Subsystem for Linux (WSL). Windows sudo is designed to elevate Windows commands and applications.
Enable Sudo in Windows 11 Settings
The location of the sudo setting can vary slightly depending on your Windows 11 version.
On newer Windows 11 releases:
- Open Settings.
- Go to System.
- Select Advanced.
- Look for Enable sudo.
- Turn the option on.
- If Windows asks for confirmation through User Account Control, approve it.
- Select the sudo operating mode you want to use.
On Windows 11 24H2, the option may instead be found under:
Settings > System > For developers
If you cannot find it, use the search box inside Settings and search for sudo.
Understanding the Available Sudo Modes
Windows 11 provides three ways to run commands through sudo. Each mode handles the elevated process differently.
1. In a New Window
This option opens the administrator command in a separate console window.
It keeps the normal terminal and elevated process more clearly separated. If you are new to Windows sudo, this can be an easier mode to understand.
2. Input Closed
With this mode, the elevated command runs in the same terminal window, but the elevated process does not receive keyboard input.
This means it should not be used for commands or programs that require you to type something after they start.
3. Inline
The Inline option runs the elevated process directly within the current terminal and allows interaction with it.
Its behavior is closer to the traditional Linux sudo experience. However, because the normal and elevated processes interact within the same terminal, there are additional security considerations.
If you are unsure which option is appropriate, In a New Window provides a more separated approach.
Configure Sudo Using the Command Line
You can also configure Windows sudo from an elevated terminal.
Open Windows Terminal, PowerShell, or Command Prompt as administrator, then use the appropriate command.
For the separate-window mode, run:
sudo config --enable forceNewWindow
For Input Closed mode:
sudo config --enable disableInput
For Inline mode:
sudo config --enable normal
Changing the sudo configuration requires administrator permissions.
After sudo has been enabled, you can use it from a regular, non-elevated terminal whenever an individual command needs administrator privileges.
How to Run a Command With Sudo
The basic format is:
sudo <command>
For example, Windows users can clear the DNS resolver cache with:
sudo ipconfig /flushdns
Depending on your Windows security settings, a User Account Control (UAC) prompt may appear. Approve the prompt if you want to allow the command to run with elevated permissions.
An important point is that sudo does not turn your entire terminal session into an administrator session. Only the command launched through sudo receives the requested elevation.
Example: Open Notepad as Administrator
Sudo can also be used when an application needs administrator permissions.
For example, you can use the following command to open the Windows hosts file in Notepad:
sudo notepad C:\Windows\System32\drivers\etc\hosts
The exact behavior can vary depending on the sudo mode selected in Settings.
When editing system files, be careful about making changes because incorrect modifications can affect Windows or installed applications.
Why sudo cd Does Not Work as Expected
There is an important limitation to understand when using sudo with shell commands.
For example:
sudo cd C:\Windows
This does not change the directory of your original terminal.
The reason is that sudo starts the requested command as another process. Changing the working directory inside that process does not change the working directory of the shell from which you launched the command.
If you simply want to move to another folder, use cd normally:
cd C:\Windows
Then use sudo only for the command that actually requires administrator permissions.
Be Careful With Output Redirection
Shell operators such as > can behave differently than expected when administrator permissions are involved.
For example, if you need to write text into a protected location, the shell may handle the redirection before the elevated program gets involved.
In situations like this, you may need to run the shell itself with elevated permissions. For example:
sudo cmd /c "echo Example > C:\protected-folder\file.txt"
Only use commands like this when you understand what they will change. Writing to protected Windows folders with administrator permissions can affect important system files.
What to Do If Sudo Is Not Working
If the Enable sudo option is missing, start by checking your Windows version.
Make sure you are using Windows 11 24H2 or a newer release. Depending on the version, check:
Settings > System > Advanced
or:
Settings > System > For developers
If Windows reports that sudo is not recognized, install the latest available Windows updates and open a new terminal window afterward.
If a command starts but does not accept keyboard input, check which sudo mode is enabled. The Input Closed mode intentionally prevents the elevated process from receiving input.
If you still get an access-denied message, check the command itself and make sure your Windows account is allowed to approve administrator elevation through UAC.
Sudo does not remove Windows security restrictions or give an account permissions that it is not authorized to obtain.
How to Disable Sudo
If you no longer want to use Windows sudo, you can turn it off from Settings.
On newer Windows 11 versions:
Settings > System > Advanced > Enable sudo
Turn the option off.
On Windows 11 24H2, you may find the setting under:
Settings > System > For developers
You can also disable sudo from an administrator terminal with:
sudo config --disable
Turning off sudo does not disable Command Prompt, PowerShell, Windows Terminal, or the regular Run as administrator feature.
It simply prevents the built-in Windows sudo command from being used.
Also read: How to Use Passkeys in Windows 11: A Simple Step-by-Step Guide
Final Thoughts
Windows 11’s sudo feature provides a convenient way to run individual commands with administrator privileges without keeping the entire terminal elevated.
The main thing to remember is that sudo should be used only when a command actually requires higher permissions. Choosing the appropriate sudo mode and understanding how commands such as cd and output redirection work can help avoid common problems.
If you are using Windows 11 24H2 or later, checking the sudo option in Settings is the easiest way to get started.

Jatin Rajput (Tech Golu) — Tech blogger & YouTuber with 6+ years of experience in WhatsApp, Instagram, Facebook, and mobile guides. Founder of TechGolu.in.