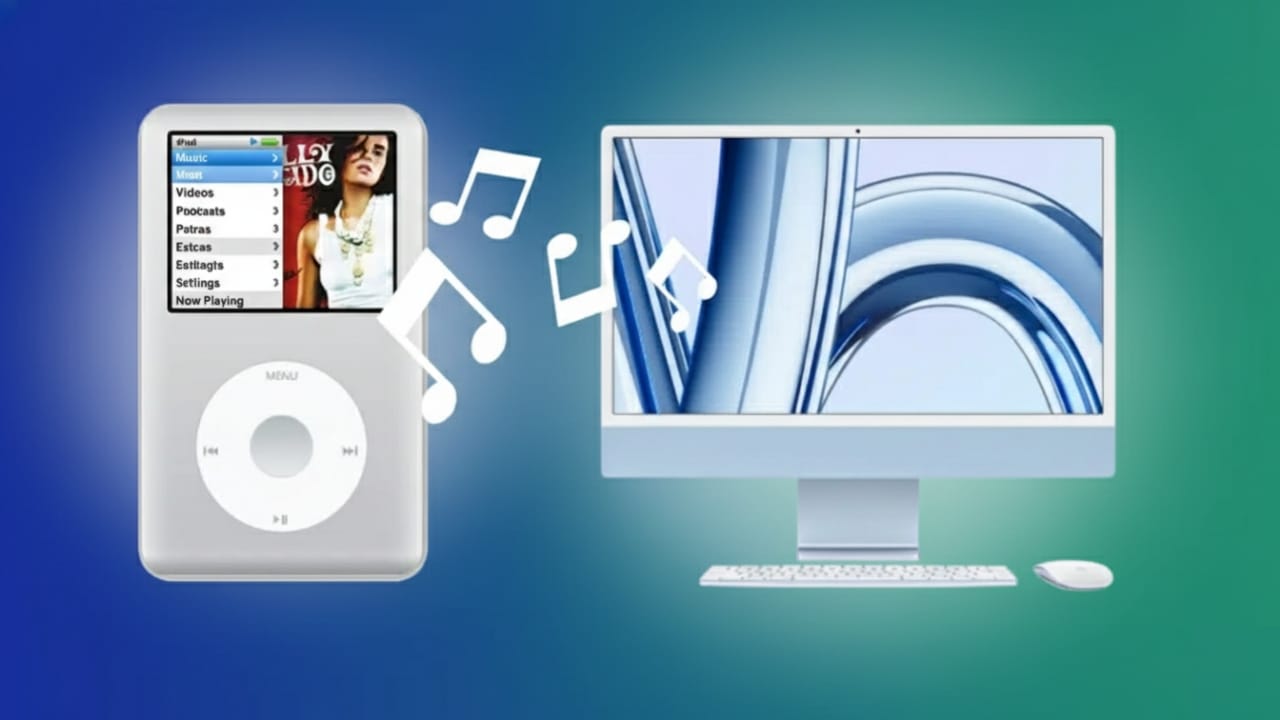
Many people still have old iPods filled with songs that aren’t saved anywhere else. If you want to keep that collection safe, you can transfer the music to your computer. The steps are easy, and you can do it on both Windows and Mac safely.
Stop Automatic Syncing Before You Start
First, connect your iPod to the computer, but block automatic syncing. Syncing can erase the music stored on your device if iTunes or Finder tries to match it with your library.
On Windows (iTunes):
- Open iTunes
- Go to Edit > Preferences
- Click the Devices tab
- Check the option that prevents your devices from syncing automatically
On Mac (Finder – macOS Catalina or newer):
- Open Finder
- Click your iPod in the sidebar
- Uncheck “Automatically sync when this iPhone is connected”
These steps make sure your music won’t be accidentally deleted.
Some older iPods (Classic, Nano, Shuffle, Mini) don’t need extra software. They can work like a USB drive, which makes copying easy. For iPod Touch, apps like Sharepod or iMazing can be helpful, especially for beginners.
Also read: Sanchar Saathi Mandate Withdrawn – What Really Happened?
Turn On Disk Mode to See Your Music Files
If you’re using an older model, you’ll need Disk Mode enabled before your computer can access the files.
On Windows:
Open iTunes → select your iPod → Summary → Enable Disk Use.
Older models like Classic or Nano use button combinations to enter Disk Mode. For example:
- Click Wheel models: hold Menu + Select
- Scroll Wheel models: hold Play + Menu, then Previous + Next
Once Disk Mode is active:
On Windows:
- Open File Explorer
- Find your iPod under This PC
- Click View and enable Hidden items
- Open the folder iPod_Control > Music
Inside that folder, you’ll see a bunch of subfolders (F00, F01, F02, etc.). They contain your audio files.
On Mac:
- Open Finder
- Make sure external disks are allowed in Finder’s preferences
- Connect the iPod and wait for its icon to show up
- Press Command + Shift + . to reveal hidden files
- Find the iPod_Control > Music folder and copy it
Copy the Songs to Your Computer
When you locate the Music folder, simply copy it.
- Windows: Press Ctrl + V to paste it into any folder on your PC.
- Mac: Paste it using Command + V into a folder on your desktop.
The files may look strange (random names), but that’s normal. Tags like artist and song name will still be there once you import them.
Always remember to safely eject your iPod:
- Right-click the iPod icon → Eject
- On Mac, Control-click the icon → Eject
Add the Music to iTunes or the Music App
Now you can add the copied songs to your music library.
Windows (iTunes):
Go to File > Add Folder to Library and choose the folder where you pasted the music.
Mac (Music app):
Go to File > Add to Library and select the same folder.
If you want iTunes to manage and organize everything:
- Windows: Edit > Preferences > Advanced → Check “Copy files to iTunes Media folder”
You can also reorganize the library by artist and album. Use File > Library > Organize Library and choose Consolidate files.
Make Playlists and Sync to Your iPhone
Once your music is imported, you can create playlists:
- Select songs
- Right-click → Add to Playlist
- Choose New Playlist
- Give it a name and arrange the songs
To transfer music to an iPhone:
- Connect your device
- Open iTunes or Finder
- Select Music
- Choose your playlists or the full library
- Click Sync or Apply
Helpful Tools (Optional)
If you use an iPod Touch or want an easier method, apps like Sharepod or iMazing let you copy songs and playlists without digging through folders.
They are especially handy for users who want a simple graphical interface.
Also read: Snapchat AI Dreams Feature Explained: What It Does, How to Use It, and What to Expect
Final Thoughts
Moving music from your iPod to your computer is a great way to protect your songs. These steps work for nearly every iPod model—Classic, Shuffle, Nano, Mini, and Touch. Once the files are on your PC or Mac, you can add them to iTunes, organize them, and even sync them to an iPhone.
This way, your music library stays safe, backed up, and easy to enjoy anytime.

Jatin Rajput (Tech Golu) — Tech blogger & YouTuber with 6+ years of experience in WhatsApp, Instagram, Facebook, and mobile guides. Founder of TechGolu.in.