Keeping your OpenAI account safe is important because it holds your chats, personal settings, and API access. Relying only on passwords is no longer enough. Passwords can be guessed, reused, or stolen. That is why passkeys are a much stronger and safer option.
This guide explains passkeys in simple words, how they work, how to enable them, and how to keep your OpenAI API keys secure. Everything is written clearly so even beginners can understand.
Also read: Call Backup Restore E2PDF Review: Simple Backup App for Everyday Users
What Are Passkeys?
Passkeys are a modern way to log in without using passwords. Instead of typing a password, your device confirms it is really you. This happens using secure technology built into your phone, laptop, or hardware security key.
Passkeys are saved safely on your device, not on websites. Common devices that support passkeys include:
- Smartphones with fingerprint or face lock
- Laptops with system security
- Physical security keys such as YubiKey
Each passkey is unique to one account and one service. It cannot be reused anywhere else.
Why Passkeys Are More Secure Than Passwords
Passkeys solve many problems that passwords cannot.
- There is no password to steal or guess
- Fake websites cannot trick you into giving login details
- Phishing attacks become almost useless
- No need to depend on SMS codes, which are less reliable
Your device protects passkeys using things like:
- Fingerprint scan
- Face recognition
- Device PIN or lock pattern
- Physical touch on a hardware key
Because nothing secret is typed or sent over the internet, attackers have nothing to intercept.
How Passkeys Work (Simple Explanation)
Passkeys use a secure key system made of two parts:
- A private key that stays on your device
- A public key that is stored by OpenAI
When you sign in, your device proves your identity without sharing the private key. This means no sensitive data travels online. Only your approved device can complete the login.
Once a passkey is created, it is linked directly to your OpenAI account and that specific device.
Using Passkeys for Login and Extra Security
Passkeys can be used for normal sign-ins and also as an extra verification step. In some cases, your phone can approve a login on your laptop by scanning a QR code.
The exact experience may vary depending on your browser and device, but the goal is always the same: fast and secure access without passwords.
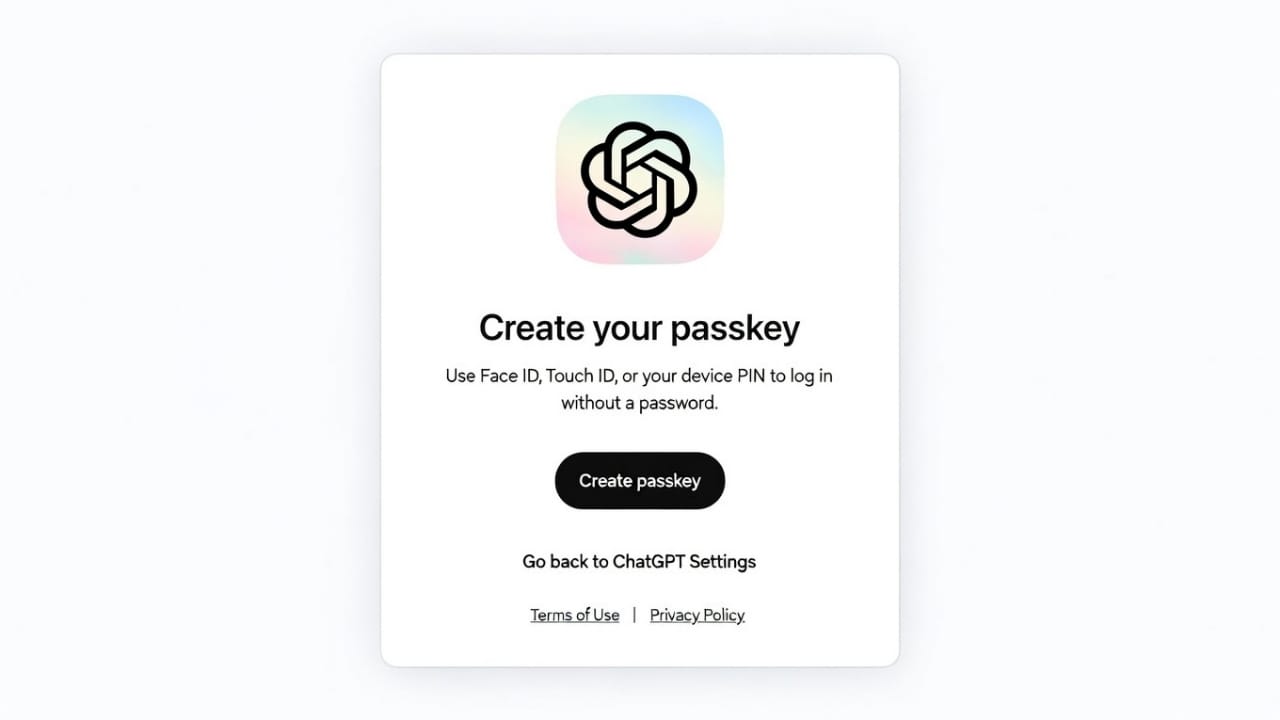
How to Enable Passkeys on Your OpenAI Account
Follow these steps carefully:
- Open the OpenAI website
- Log in to your account
- Go to your account settings
- Open the Security section
- Find the Passkeys option
- Click Add passkey
- Confirm using fingerprint, face ID, or device PIN
That’s it. The passkey is created in just a few moments.
Important Things to Know
- After setup, passkeys become the default login method
- You only need to enter your email to start signing in
- No technical knowledge is required
- Some features roll out gradually, so availability may vary
If your account uses organization-based login (SSO), passkeys may work as an extra security step instead of replacing the main login.
Managing Your Passkeys
You can manage all passkeys from your security settings:
Settings → Security → Passkeys
From here, you can:
- Add new passkeys for other devices
- Remove passkeys from lost or unused devices
It is smart to add at least two passkeys (for example, one on your phone and one on your laptop). This helps prevent lockouts if one device is unavailable.
Any changes you make take effect immediately.
How to Sign In Using a Passkey
Signing in is simple:
- Enter your registered email
- Approve the login prompt on your device
- Use fingerprint, face scan, or PIN
No password is needed.
If a passkey is not available, you can choose another verification method by selecting “Try another method” during sign-in.
Understanding OpenAI API Keys
OpenAI API keys allow apps and tools to connect directly to OpenAI services. These keys control access, usage, and billing, so they must be handled carefully.
API keys are created only after account verification and should be treated as highly sensitive information.
How to Create an OpenAI API Key
Follow these steps:
- Go to the OpenAI website
- Log in to your account
- Open the API platform
- Go to the dashboard
- Find the API Keys section
- Click Create New Secret Key
For safety, start with read-only permissions. Copy the key immediately because it will not be shown again. Store it in a trusted password manager or secure notes app.
API Key Safety Tips
To keep your account and billing safe:
- Never share your API key
- Do not show it in screenshots or videos
- Avoid displaying it during screen sharing
- Never post keys online or in public code
A leaked API key can be misused and cause unexpected charges.
Best Practices for API Security
- Rotate keys regularly
- Delete keys you no longer use
- Do not hardcode keys in apps
- Use environment variables instead
- Never upload keys to public repositories
Strong login protection with passkeys helps prevent unauthorized access to your API dashboard.
Using OpenAI API Keys in Griptape Nodes
To add your API key in Griptape Nodes:
- Open the Griptape Nodes app
- Go to Settings from the top menu
- Open API Keys and Secrets
- Find the OPENAI_API_KEY field
- Paste your secret key
Settings save automatically. Make sure configuration files are not shared publicly.
Also read: How to Tell If Someone Is Using Snapchat Plus (Simple & Clear Guide)
Final Thoughts
Using passkeys is one of the best ways to protect your OpenAI account. They remove password risks, block phishing attempts, and rely on secure device authentication.
API keys also require careful handling. Never expose them and always follow security best practices.
When passkeys and proper API key management are used together, your OpenAI account stays protected for the long term.

Jatin Rajput (Tech Golu) — Tech blogger & YouTuber with 6+ years of experience in WhatsApp, Instagram, Facebook, and mobile guides. Founder of TechGolu.in.