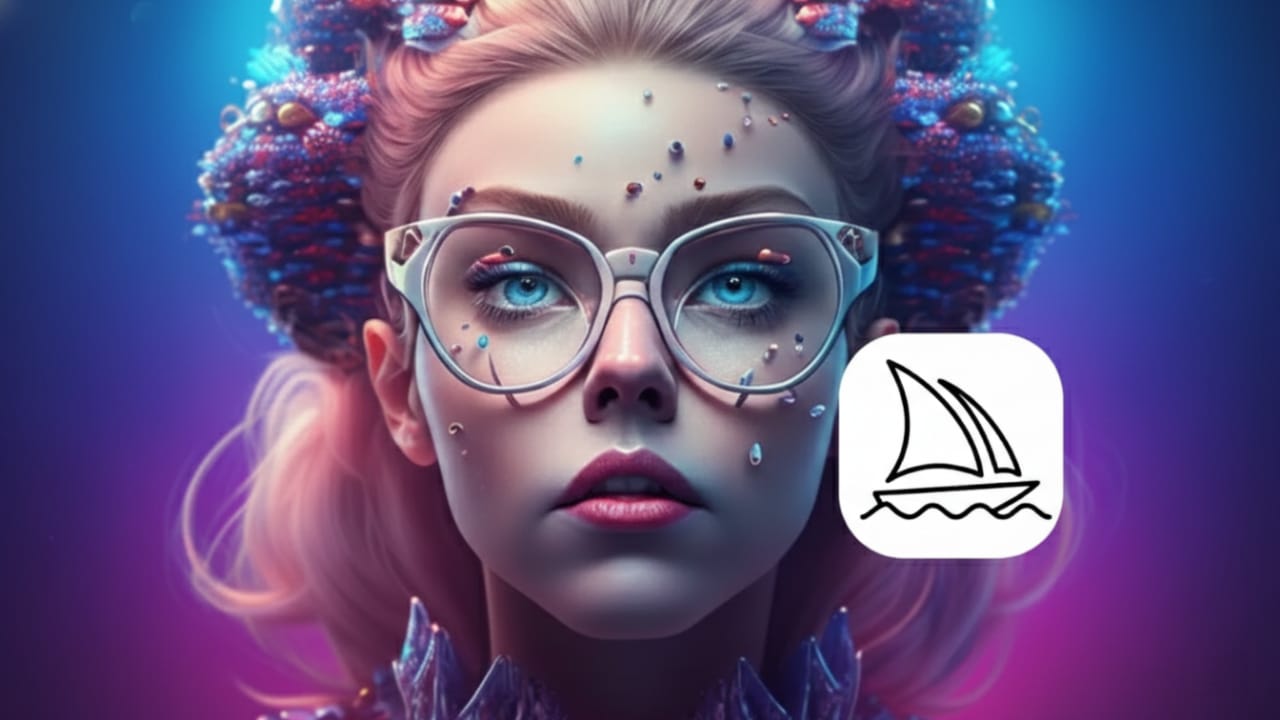
Midjourney is a popular AI tool that lets you turn words into stunning images. You don’t need to know drawing, design, or editing. If you can describe an idea in text, Midjourney can turn it into visuals within minutes.
This guide explains everything in clear, simple language. It’s written for beginners and follows safe publishing standards, so you can confidently use it for learning or content creation.
Also read: Tracking Notifications on iPhone: How Apple Helps You Spot Hidden AirTags (2026 Guide)
What Is Midjourney and How It Works
Midjourney is an AI-based image generator. It reads short text instructions (called prompts) and creates images based on them. You can also mix images, adjust styles, and refine results using built-in tools.
Midjourney works through Discord, so you’ll need a Discord account to use it.
Step 1: Create and Verify a Discord Account
Start by signing up on Discord.
After registration, verify your email address and complete the basic setup.
You can use Discord on:
- Web browser
- Mobile app
- Desktop app
Once your account is ready, you can move to the next step.
Step 2: Join the Midjourney Server
Go to the official Midjourney website and select the Join Beta option.
Accept the invite to enter the Midjourney Discord server.
Inside the server, you’ll find different channels where users create images, share results, and learn from each other.
Step 3: Choose a Subscription Plan
Midjourney does not offer free usage. A paid plan is required to generate images.
Current plans include:
- Basic – $10 per month
- Standard – $30 per month
- Pro – $60 per month
- Mega – $120 per month
To subscribe, type /subscribe in any Midjourney Discord channel and follow the steps.
Step 4: Pick a Channel or Create Your Own Space
Beginners usually start in public channels like newbies or general. These are helpful for learning.
If you prefer a quiet workspace, you can:
- Create your own Discord server
- Add the Midjourney bot to it
This gives you a private environment to work in.
Step 5: Learn the Basic Commands
Midjourney runs through simple slash commands. The most important ones are:
/imagine– create images from text/settings– adjust default options/info– check usage and plan details/helpor/ask– get assistance
These commands control how the bot works.
Step 6: Create Your First AI Image
Type /imagine and then describe the image you want.
Keep your description short and clear.
Example:
A cozy room with warm lighting and wooden furniture
After accepting the terms (only needed once), Midjourney will process your request. In a short time, you’ll see four image options.
Step 7: Understand the Image Buttons
Each image set comes with control buttons:
- U1–U4: Choose and enhance one image
- V1–V4: Create new variations of an image
- Re-roll: Generate a new set using the same prompt
These tools help refine your results easily.
Improve Images with Built-In Tools
Upscale for Better Quality
The U buttons increase image clarity and detail.
Images already start at high resolution, but upscaling makes them sharper.
Create Variations
The V buttons give you slightly different versions of the same idea.
You can also choose:
- Vary Strong – bigger changes
- Vary Subtle – small tweaks
Edit Specific Areas
The Vary Region tool lets you select one part of an image and change only that section. This is useful for fixing small issues.
Re-roll for Fresh Results
Not happy with the outcome? Re-roll creates a new image set using the same prompt.
Expand the Scene with Pan
The Pan option extends the image in a chosen direction, adding more background or context.
Zoom and Save
Zoom tools adjust framing. Once finished, you can download and save your image.
Create Images Privately
If you’re on a paid plan, you can send messages directly to the Midjourney bot.
This allows private image creation instead of posting in public channels.
Using Advanced Prompts for Better Control
Prompts, Commands, and Parameters
- Prompts describe what you want
- Commands tell the bot what to do
- Parameters fine-tune the result
Common parameters control:
- Aspect ratio
- Image quality
- Visual style
Add Images to Prompts
You can upload an image to Discord and include its link in your prompt.
This helps guide the AI more accurately.
Use Remix Mode
Remix lets you change the prompt while creating variations.
Enable it with /prefer remix.
Multi-Prompts for Complex Ideas
Separate ideas using double colons (::).
This helps the AI balance different concepts in one image.
Permutation Prompts
Use brackets and commas to test multiple ideas in one command.
This saves time when experimenting.
Blend Images Together
The /blend command combines two to five images into one result.
For best results, use images with similar sizes.
Extra Settings You Should Know
Open /settings to customize your experience. You can:
- Choose different AI models
- Adjust style strength
- Enable RAW mode for less styling
- Switch between Fast, Relax, or Turbo speed
- Turn Remix on or off
- Set images to public or private
Simple Tips for Writing Better Prompts
- Be clear and specific
- Keep sentences short
- Focus on key details like subject, lighting, and mood
- Avoid using too many similar adjectives
- Use clean grammar and structure
- Mention colors, environment, and atmosphere
- Experiment often and learn from results
You can also upload your own photos to create personalized images.
Also read: How to Rename Photos, Videos, and Files on iPhone and iPad (2026)
Final Thoughts
Midjourney makes AI image creation fast and accessible. You don’t need technical skills—just creativity and clear instructions. By learning the commands, tools, and prompt techniques, you can steadily improve your results.
Practice regularly, try new ideas, and explore different styles. Over time, you’ll create images that truly stand out. Start experimenting today and enjoy the creative process.

Jatin Rajput (Tech Golu) — Tech blogger & YouTuber with 6+ years of experience in WhatsApp, Instagram, Facebook, and mobile guides. Founder of TechGolu.in.