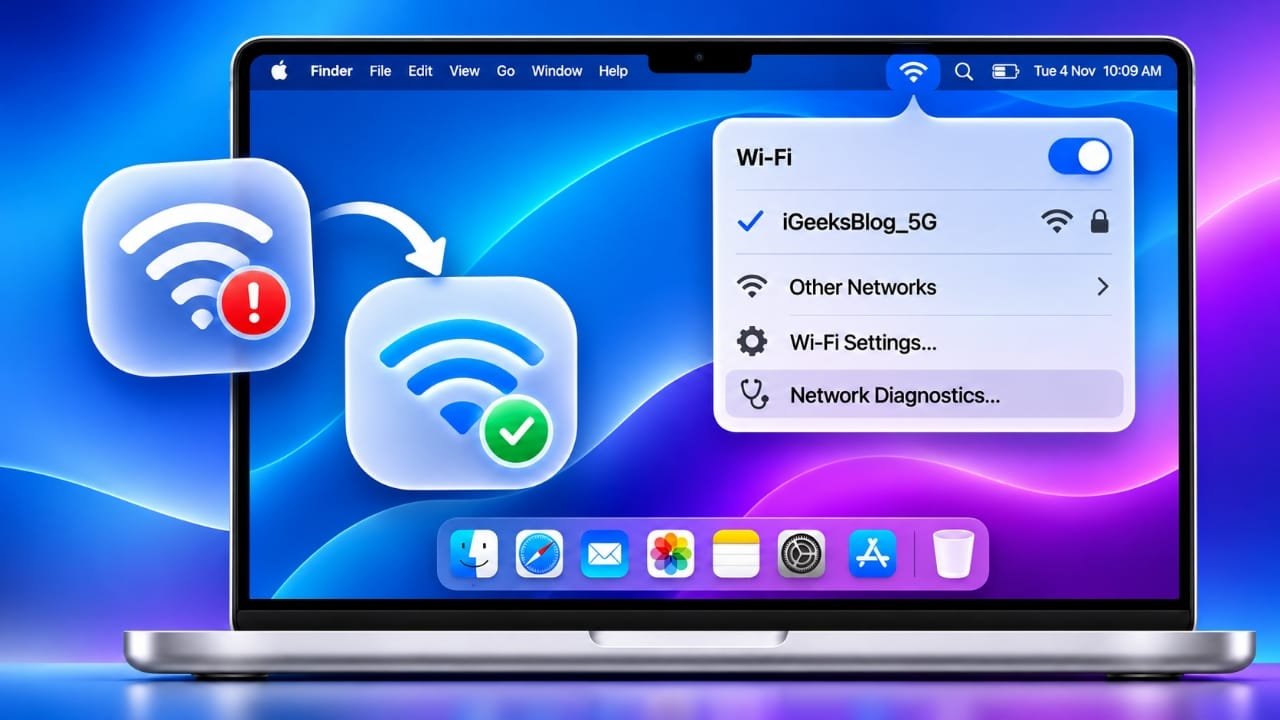
Wi-Fi problems on a Mac can be frustrating, especially when you need a stable internet connection for work, browsing, or entertainment. Sometimes, your Mac may connect to Wi-Fi but fail to load websites. In other cases, the connection may become slow or disconnect repeatedly.
These issues can happen for several reasons, including incorrect network settings, temporary software glitches, router problems, or macOS bugs.
The good news is that you can try several simple troubleshooting methods before seeking professional help. In this guide, we’ll explain 10 practical ways to fix common Wi-Fi problems on a Mac, including devices running recent versions of macOS.
Also read: How to Turn Off an iPhone Using a Computer: Methods That Actually Work
Before You Start: Find Out Where the Problem Is
Before changing any settings, check whether the issue is coming from your Mac or your internet connection.
Here are a few things to try:
- Connect another device, such as an iPhone or iPad, to the same Wi-Fi network.
- Open different websites and apps on your Mac to see whether the problem affects everything.
- Check whether other devices can access the internet normally.
- If only one application is having trouble, check its settings or service status.
If other devices also have internet problems, your router or internet provider may be responsible. However, if everything works on other devices, the issue could be related to your Mac.
10 Ways to Fix Wi-Fi Problems on a Mac
Try the following solutions one at a time. After completing each method, check whether your internet connection is working properly.
1. Restart Your Wi-Fi Router
Restarting your router is one of the easiest ways to resolve temporary internet connection problems.
Routers sometimes develop minor software issues after running continuously for long periods. A fresh restart can help restore normal operation.
Follow these steps:
- Turn off your Wi-Fi router.
- Disconnect its power cable.
- Leave it unplugged for around 30 seconds.
- Reconnect the power cable and switch it on.
- Wait until the router finishes starting.
- Connect your Mac to Wi-Fi again.
Also, make sure your router has enough ventilation. Avoid placing it inside closed cabinets or directly next to large metal objects, as these can affect wireless signal performance.
2. Turn Wi-Fi Off and On Again
Sometimes, the problem is caused by a temporary issue with your Mac’s wireless connection.
Turning Wi-Fi off and enabling it again can refresh the connection without changing your saved network information.
Here’s what you need to do:
- Click the Wi-Fi icon in the macOS menu bar.
- Turn Wi-Fi off.
- Wait for a few seconds.
- Enable Wi-Fi again.
- Select your preferred wireless network if necessary.
If the Wi-Fi icon is not visible, open Control Center and access the Wi-Fi controls from there.
3. Restart Your Mac
A simple restart can resolve temporary macOS problems that interfere with internet connectivity.
If your Mac has been running for several days without restarting, background processes or minor software glitches may affect its performance.
To restart your Mac:
- Click the Apple menu in the top-left corner.
- Select Restart.
- Wait for your Mac to shut down and start again.
- Reconnect to your Wi-Fi network.
Once your desktop appears, open a browser and check whether websites are loading normally.
4. Check for the Latest macOS Update
Apple regularly releases macOS updates that include security improvements, bug fixes, and performance changes.
If your Wi-Fi problem started after installing an update, a newer software release may contain a fix.
To check for updates:
- Open the Apple menu.
- Select System Settings.
- Go to General.
- Choose Software Update.
- Check whether a newer version is available.
If an update is available, follow Apple’s instructions to install it. Make sure your important files are backed up before major software updates.
After installation, reconnect to Wi-Fi and see whether the issue has been resolved.
5. Forget the Wi-Fi Network and Connect Again
Saved network information can sometimes become outdated or corrupted. Removing the network and connecting again may help establish a fresh connection.
Before proceeding, make sure you know your Wi-Fi password.
Follow these instructions:
- Open System Settings.
- Select Wi-Fi.
- Find the network you are currently using.
- Open its Details or network settings.
- Select Forget This Network or the corresponding removal option.
- Return to the available Wi-Fi networks.
- Select your network and enter the password.
Your Mac will create a new connection using the updated network information.
Tip: If your only problem is that your Mac automatically connects to an unwanted network, you can disable Auto-Join instead. This keeps the saved password and network information intact.
6. Try Changing the DNS Servers
DNS stands for Domain Name System. It helps your Mac find the correct server when you enter a website address into your browser.
Sometimes, incorrect or unresponsive DNS settings can prevent websites from opening even when your Mac shows that it is connected to Wi-Fi.
You can test another DNS provider by following these steps:
- Open System Settings.
- Select Network.
- Choose Wi-Fi.
- Click Details next to your connected network.
- Open the DNS section.
- Click the plus (+) button under DNS Servers.
- Enter
8.8.8.8. - Add another server:
8.8.4.4. - Save your changes and close Settings.
These addresses belong to Google Public DNS.
Open your browser and check whether websites are loading correctly.
If the change does not help, you can remove the added DNS addresses to return to your previous configuration.
7. Review Your Mac’s Firewall Settings
macOS includes a built-in firewall that helps protect your computer from unwanted incoming network connections.
Although it does not normally prevent regular Wi-Fi access, certain firewall rules or third-party security tools may interfere with particular network activities.
You can check its settings as follows:
- Open System Settings.
- Select Network.
- Find the Firewall option.
- Review whether it is enabled and check its configuration.
If you suspect that a firewall rule is causing the issue, temporarily test the connection with the firewall disabled, but only if you understand the security implications and are using a trusted network.
Turn the firewall back on immediately after testing.
If you use additional security software, check whether it has any network filtering settings that could be affecting your connection.
8. Check Recently Installed Third-Party Applications
Some applications change how your Mac connects to the internet.
For example, VPN services, antivirus programs, network monitoring tools, and parental control applications may install additional network filters or configuration profiles.
Problems can sometimes appear after updating macOS or installing a new application.
If your Wi-Fi stopped working around the time you installed or updated a particular program, investigate that application first.
You can try the following:
- Check whether your VPN is connected.
- Temporarily disconnect unnecessary VPN services.
- Review network-related settings in security applications.
- Check for available updates for those applications.
- Remove software you no longer use through its official uninstaller.
Avoid deleting unfamiliar system files or network profiles, as they may be required by macOS or other installed software.
9. Use Wireless Diagnostics on Your Mac
If the previous solutions have not helped, macOS includes a built-in tool called Wireless Diagnostics.
It examines your wireless connection and can provide useful information about possible network problems.
To open it:
- Close unnecessary applications.
- Connect your Mac to the Wi-Fi network, if possible.
- Press and hold the Option key on your keyboard.
- Click the Wi-Fi icon in the menu bar.
- Select Open Wireless Diagnostics.
- Follow the instructions displayed on the screen.
The tool will examine your wireless connection and provide information about detected issues.
You may also find additional details in the diagnostic summary. macOS can generate a report that you can share with Apple Support or your network administrator.
Wireless Diagnostics is useful for investigating connection problems, but it does not automatically repair every issue.
10. Contact Your Internet Provider or Apple Support
If none of these methods solve the problem, getting help from the right support team is the next step.
The type of support you need depends on which devices are affected.
Contact your internet provider if:
- Multiple devices cannot access the internet.
- Your router frequently loses its connection.
- The internet connection is unstable across your home.
- You suspect a service outage or router configuration problem.
Contact Apple Support if:
- Other devices work normally on the same Wi-Fi network.
- Your Mac continues disconnecting unexpectedly.
- Wireless Diagnostics identifies persistent problems.
- You have already tried the basic troubleshooting methods without success.
Apple Support can help investigate more complicated macOS and hardware-related issues.
Also read: How to Know If Someone Blocked You on Snapchat: Signs and What to Do Next
Final Thoughts
Wi-Fi problems on a Mac do not always mean there is something seriously wrong with your computer. In many cases, a router restart, fresh Wi-Fi connection, macOS update, or DNS adjustment may be enough to restore normal internet access.
Start with the basic solutions and move towards advanced troubleshooting only when necessary. If the problem continues, use Wireless Diagnostics to collect more information before contacting Apple Support.
With a little troubleshooting, you can often identify the cause of the connection problem and get your Mac back online without unnecessary changes to its settings.

Jatin Rajput (Tech Golu) — Tech blogger & YouTuber with 6+ years of experience in WhatsApp, Instagram, Facebook, and mobile guides. Founder of TechGolu.in.