Private Browsing in Safari is designed to keep your online activity confidential. It prevents your browsing history, search records, and cookies from being saved. However, in the past, open private tabs could still be viewed by anyone who had access to your unlocked device.
To solve this issue, Apple introduced biometric protection for private tabs. Now, Face ID, Touch ID, or a passcode is required to access them, adding an extra layer of privacy and security.
Also read: Why WhatsApp Keeps Crashing on iPhone in 2026 — And How to Fix It
What Locked Private Browsing Actually Means
Private browsing already keeps your internet activity hidden from your device history. Websites you visit are not stored, and tracking data is removed once you close the session.
However, downloads and bookmarks created during private browsing still remain on your device. This means private mode is more about hiding browsing activity, not everything you do online.
Before this update, private tabs were not fully secure. If your phone or laptop was unlocked, anyone could open Safari and view your private tabs. This was especially risky for people who share devices with family members, friends, or coworkers.
Apple recognized this gap and introduced locked private browsing. With this feature, private tabs remain hidden behind biometric authentication. Even if your device is unlocked, Safari will still require Face ID, Touch ID, or a passcode before showing private tabs.
Safari automatically locks private tabs when:
- You switch to another app
- Your screen turns off
- Your device goes to sleep
- Your screen locks
- A screensaver activates
This happens in the background without any manual action from you.
Who Benefits Most from This Feature?
This is especially useful for:
- Families sharing an iPad
- People using a shared office Mac
- Students using common computers
- Anyone who values extra privacy
It helps protect personal searches, banking activity, medical research, and work-related browsing from being accidentally exposed.
Device Requirements
Before using this feature, your device must meet certain conditions:
- iPhone and iPad: Must be running iOS 17 or newer
- Mac: Must be running macOS Monterey or later
- Safari must be updated to version 17 or newer
- Face ID, Touch ID, or a passcode must already be enabled
Each device needs to be set up separately, even if you use the same Apple ID across multiple devices.
How to Enable Locked Private Browsing on iPhone and iPad
Follow these steps:
- Open Settings
- Scroll down and tap Apps
- Select Safari
- Tap Privacy & Security
- Turn on Require Face ID to Unlock Private Browsing (or Touch ID on supported devices)
- Confirm with your biometric authentication
After this, open Safari and switch to Private Browsing once. This activates the protection fully.
From now on, private tabs will automatically lock whenever you leave Safari or your screen turns off.
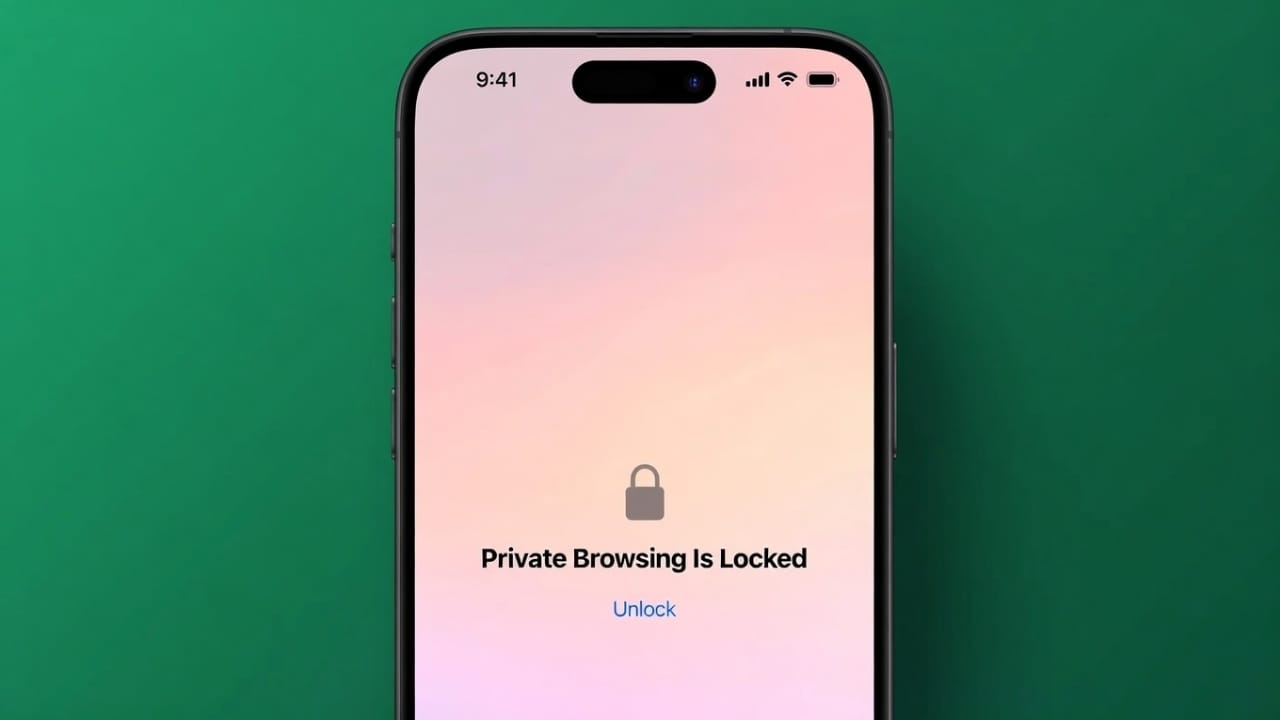
When you return to Safari, you will see a lock screen. You must use Face ID, Touch ID, or your passcode to continue browsing privately.
One exception: if a private tab is playing audio or video, Safari may delay locking until playback stops.
How to Use Locked Private Browsing on Mac
On newer Macs, this feature is usually enabled by default, but you can check manually:
- Open Safari
- Click Safari in the top menu bar
- Select Settings
- Go to the Privacy tab
- Make sure private window locking is enabled
Safari will automatically lock private windows when:
- The Mac goes to sleep
- The screen locks
- A screensaver starts
- Safari becomes inactive
You can also lock private tabs manually:
- Click Window in the top menu
- Select Lock All Private Windows
This is useful when you step away from your computer quickly.
How to Unlock Private Tabs
On iPhone or iPad
- Open Safari
- Tap the three dots (…)
- Select All Tabs
- Switch to Private
- Use Face ID, Touch ID, or passcode to unlock
After verification, your private tabs will reappear.
On Mac
- Open a private window
- You will see a locked screen
- Use Touch ID or enter your password
- Once verified, browsing resumes normally
How to Turn Off Automatic Locking (Not Recommended)
If you prefer convenience over security, you can disable this feature.
On iPhone/iPad
- Open Settings → Apps → Safari → Privacy & Security
- Turn off Require Face ID for Private Browsing
Now, private tabs will remain unlocked at all times. Anyone using your device can access them.
On Mac
- Open Safari Settings → Privacy
- Uncheck the private window locking option
Manual locking will still be available if needed.
Extra Privacy Tips for Safari Users
To improve your overall privacy even further:
- Use iCloud Private Relay to hide your IP address
- Consider using a trusted VPN for added security
- Clear website data regularly
- Use privacy-friendly search engines like DuckDuckGo
- Lock your entire Safari app using Screen Time restrictions
These steps help protect your data beyond just private tabs.
Also read: How to Fix the “Something Went Wrong” Error in Gemini (2026 Guide)
Final Thoughts
Locking Safari’s private browsing tabs is a simple but powerful privacy upgrade. It ensures that even if someone gets access to your unlocked device, your private browsing stays protected.
The setup is easy, works smoothly, and greatly improves everyday digital security. If you value your privacy, enabling this feature is definitely worth it.

Jatin Rajput (Tech Golu) — Tech blogger & YouTuber with 6+ years of experience in WhatsApp, Instagram, Facebook, and mobile guides. Founder of TechGolu.in.